先日、StartComの証明書を更新したのですが、忘れないように手順を残しておきます。
コントロールパネルログイン用の証明書の更新
StartComで作成した証明書の有効期限2週間前になるとメールが来ます。
メールは「コントロールパネルログイン用の証明書」と「サーバーのSSL証明書」の期限が来るのですが、文面が似ているので「コントロールパネルログイン用の証明書」の更新を忘れないようにしましょう。
認証
StartSSL™ Certificates & Public Key Infrastructureのページに行き、Authenticateからログインします。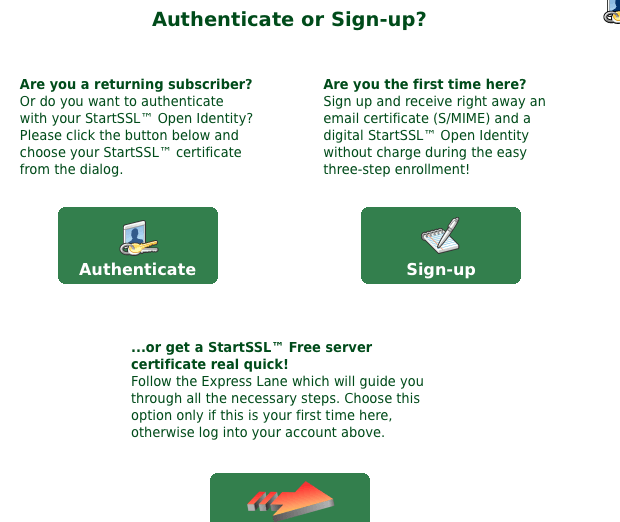
その際ブラウザに一年前に作成した「コントロールパネルログイン用の証明書」がインストールされている必要があります。
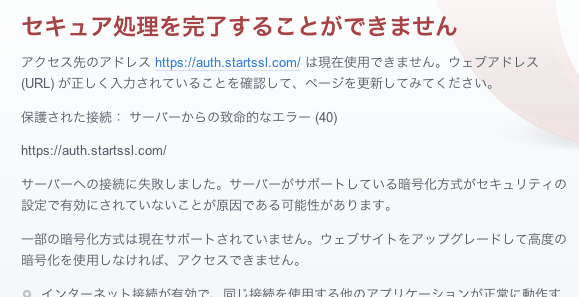
証明書がインストールされていないと、次のような画面が表示されます。
Operaには証明書がインストールされていなかったので、この画面が出てちょっと焦った。
証明書がインストールされているブラウザで開くと証明書の要求ダイアログが出ますのでOKを選択します。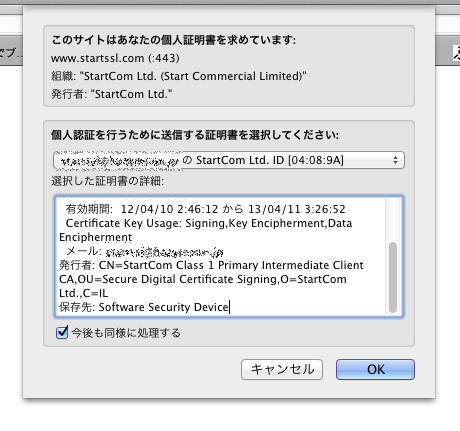
無事認証が完了すると下記の画面が表示されますので”Control Panel”をクリックして進みます。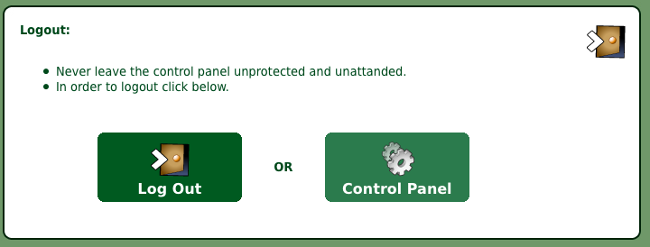
“Control Panel”画面に進むと下記の画面になりますので、”Validations Wizard”を選択します。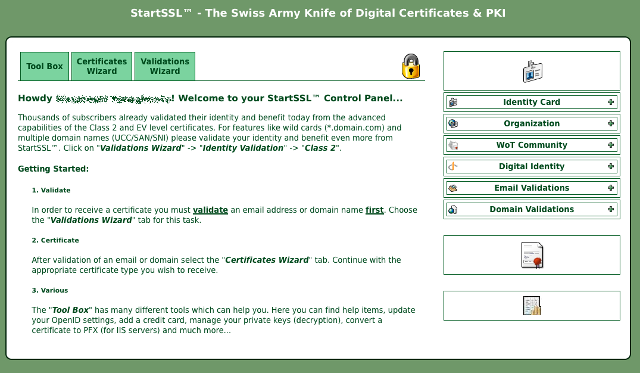
Email Address Validation
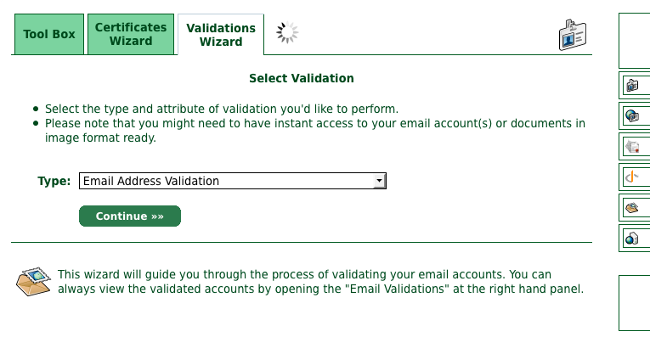
“Select Validation”画面が表示されますので、Email Address Validation を選択します。
“Enter Email Address”画面に移りますので、自分のメールアドレスを入力しContiuneを押下します。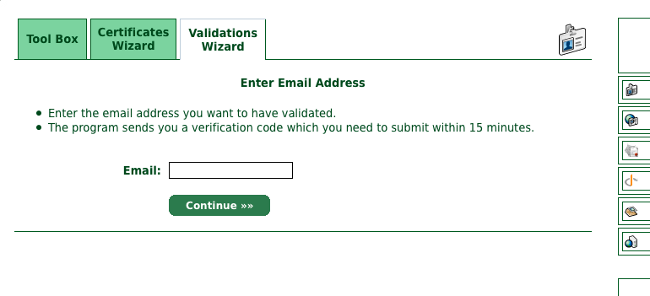
“Complete Validation”画面が表示された後しばらくして、入力したメールアドレスにメールが送信されます
送信されたメールにはVerification Codeが送られてきます。
This mail is intended for the person who requested verification of email ownership at StartSSL™ (http://www.startssl.com).

Your verification code is XXXXXXXXXXXXXXXX
Copy and paste this code now into the form at your open browser window.

Thank you!

StartCom Ltd.
StartSSL™ Certification Authority
ここに記載されているコードをVerification Codeに入力します。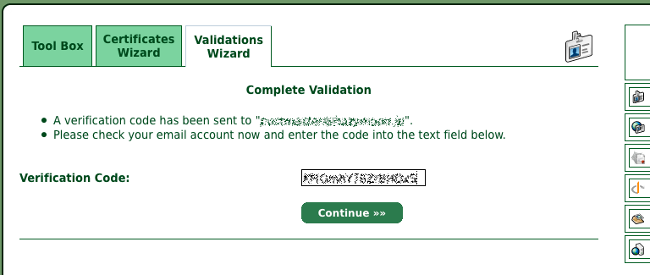
Verification Successの画面が出たら終了です。
Email Address Validationは30日間有効なので、その間にDomain Name Validationを行いクライアント証明書を入手する必要があります。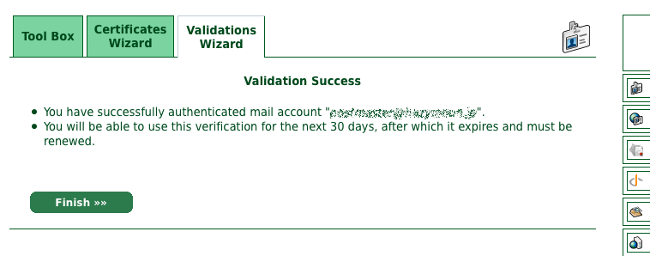
Domain Name Validation
“Validations Wizard”を選択し”Select Validation”画面を表示させます。今度はDomain Name Validationを選択します。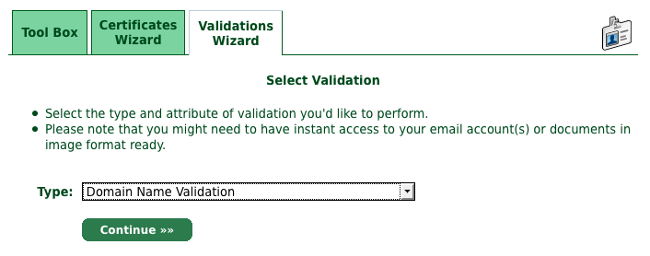
次にドメイン名を入力します。ここではトップレベルのドメイン名を入力します。たとえば foo.invalid.com の場合はinvalid.comを入力します。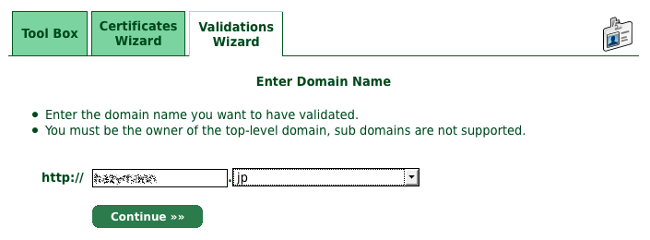
Verification Codeを送るメールアドレスを選択してContinueを押下します。(なんか文字化けしてるものがありますね。)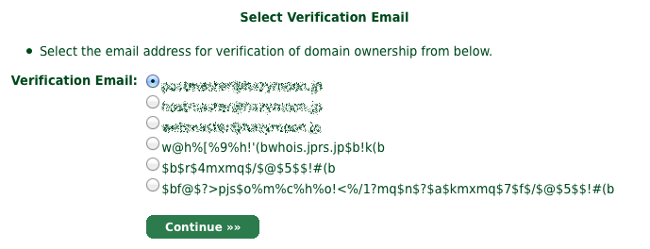
“Complete Validation”画面が表示された後しばらくして、Email Address Validationと同様に選択したメールアドレスにメールが送信されます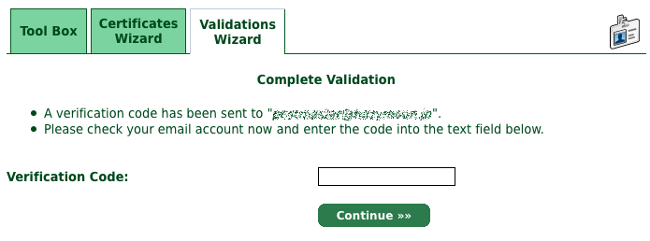
送信されたメールにはVerification Codeが送られてきます。
This mail is intended for the person who requested verification of domain control at
StartSSL™ (http://www.startssl.com).

Your verification code is OOOOOOOOOOOO
Copy and paste this code now into the form at your open browser window.

Thank you!

StartCom Ltd.
StartSSL™ Certification Authority
ここに記載されているコードをVerification Codeに入力します。
Verification Successの画面が出たら終了です。
Domain Name Validationも30日間有効なので、30日以内にクライアント証明書を入手する必要があります。
クライアント証明書の更新
Cerifications Wizardを選択してSelect Cretificate Purpose画面を表示させ、”S/MIME and Authentication Certificate”の選択し次に進みます。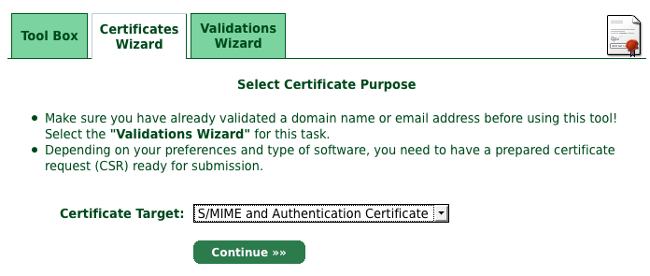
Generate Private Key画面で”高強度の暗号化”を選んで次に進みます。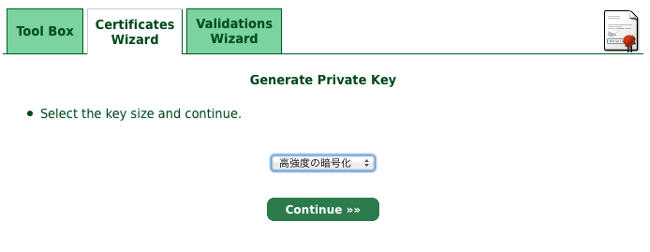
Select Email Address画面ではSecure Hash Algorithmを”SHA2”にして次に進みます。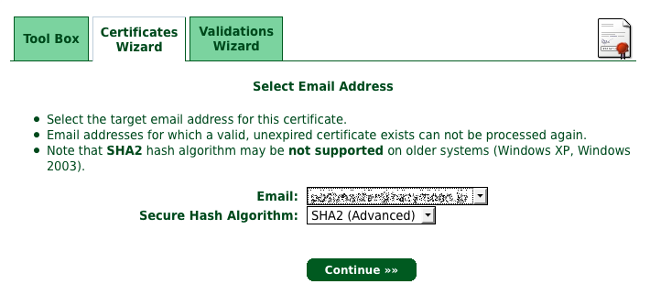
これで成功すれば、Congratulations!画面になり、ブラウザにクライアント証明書が自動的にインストールされます。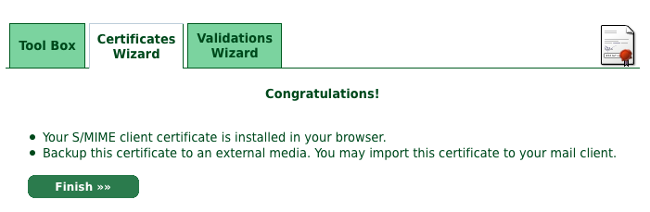
クライアント証明書のバックアップ
クライアント証明書が失われてしまった場合に、startSSLにログイン出来なくなりますので証明書のバックアップをしておきます。
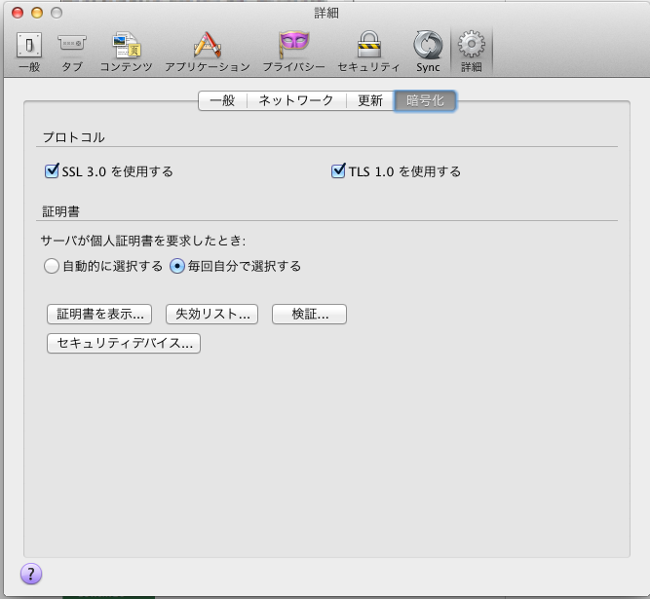
Firefoxの詳細画面を表示して「証明書の表示」を押下します。
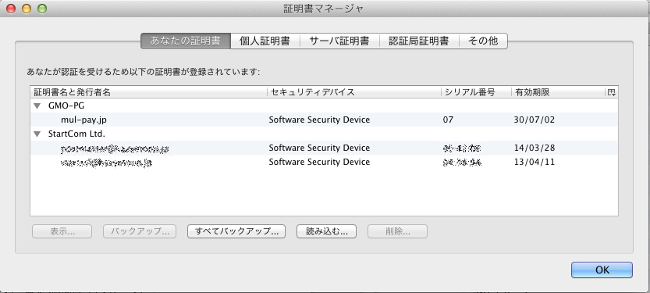
先ほどインストールされた証明書を選択して、「バックアップ」押下しファイルへ保存します。
サーバー証明書の更新
Cerifications Wizardを選択してSelect Cretificate Purpose画面を表示させ、”Web Server SSL/TLS Certificate”の選択し次に進みます。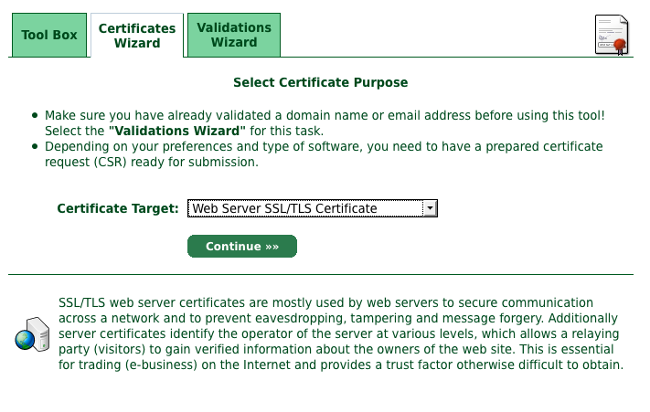
Generate Private Key画面では、Private Keyは以前サーバ上で作成したキーを再利用しますのでskipを押下して次に進みます。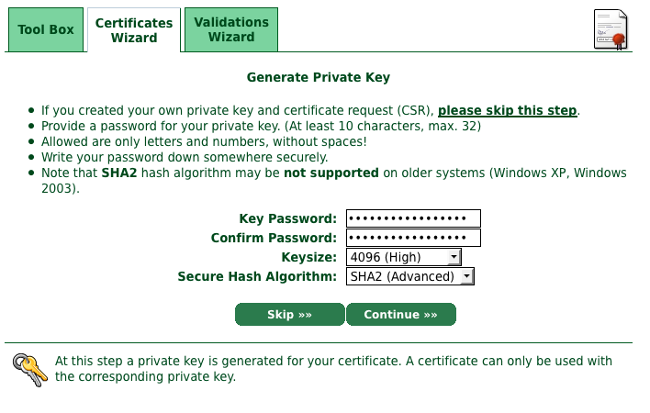
Submit Certificate Request画面では、以前作成した証明書署名要求ファイルserver.csrをフォームにコピペする。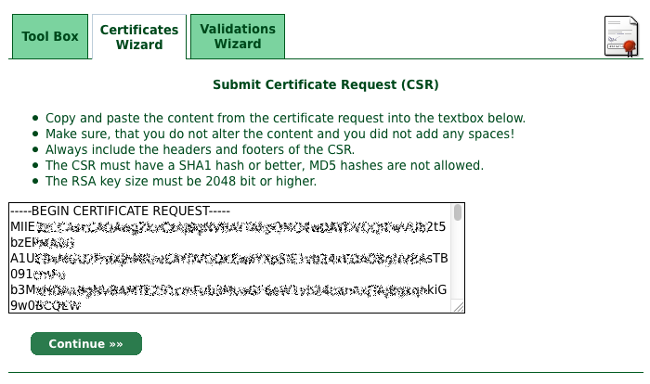
作成したファイルが見つからない場合は下記のようにして証明書署名要求ファイルserver.csrを再度作成します。
証明書要求の作成 手順(server.csr)
$ su
# cd /etc/ssl/private
サーバー秘密鍵の作成 (server.key)
# openssl genrsa -out server.key -aes256 4096
パスフレーズを削除
# openssl rsa -in server.key -out server.key
証明書要求の作成(server.csr)
# openssl req -new -key server.key -out server.csr
#
証明書署名要求ファイルに問題が無ければ下記の画面が出ますので次にいきます。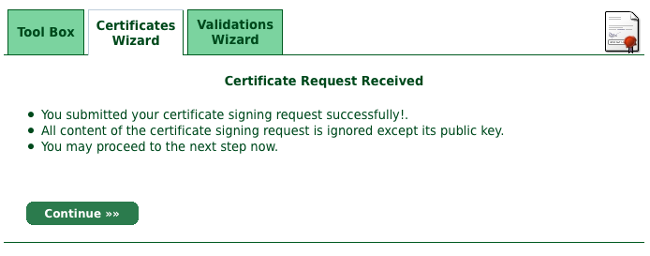
証明書に紐付けるドメインを選んで次にいきます。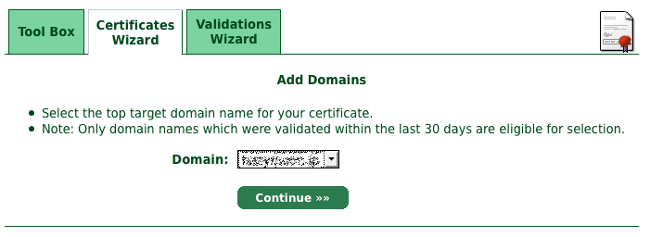
証明書に紐付けるサブドメインを選んで次にいきます。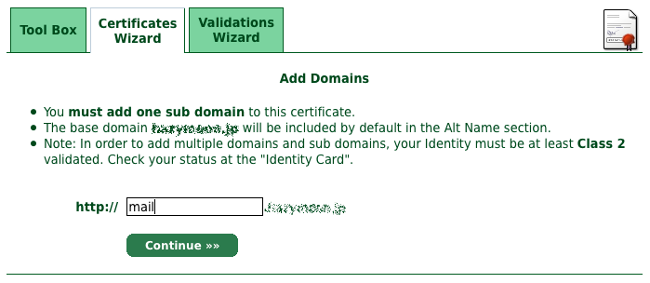
確認画面が出ますので次にいきます。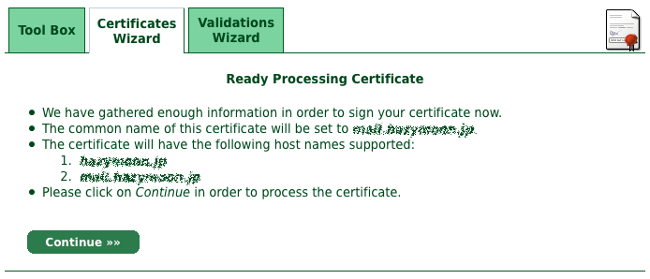
作成されたサーバー証明書が、テキストアリアの中に表示されますので、コピーしてfoobar.com.crtとファイル名を付けてセーブします。FinishをクリックするとThank you画面に遷移して終了です。

サーバー側の設定
証明書の作成が終了したならば、サーバー側のファイルを新しい証明書を使って更新します。
以前のファイルをバックアップ
$ su
# cd /etc/ssl/startssl
# cp foobar.jp.crt foobar.jp.crt.old
# cp imapd.pem imapd.pem.old
# cp postfix.pem postfix.pem.old
#
新しいサーバー証明書のコピー
# mv ~/foobar.jp.crt /etc/ssl/startssl
startSSLの証明書が無い場合はダウンロードしておくこと。
# cd /etc/ssl/startssl
# wget https://www.startssl.com/certs/ca.pem
# mv ca.pem startssl.ca.pem
# wget https://www.startssl.com/certs/sub.class1.server.ca.pem
# mv sub.class1.server.ca.pem starssl.sub.class1.server.ca.pem
# wget https://www.startssl.com/certs/ca-bundle.pem
# mv ca-bundle.pem startssl.ca-bundle.pem
#
postfixの設定
# cat foobar.jp.crt startssl.sub.class1.server.ca.pem startssl.ca.pem > postfix.pem
/etc/postfix/main.cfには次の記述
smtpd_tls_cert_file = /etc/ssl/startssl/postfix.pem
smtpd_tls_key_file  = /etc/ssl/private/server.key
リスタートして接続確認
# /etc/rc.d/postfix restart
# openssl s_client -connect localhost:smtps -CAfile /etc/ssl/startssl/startssl.sub.class1.server.ca.pem
imapの設定
# cat /etc/ssl/private/server.key foobar.com.crt startssl.sub.class1.server.ca.pem startssl.ca.pem > imapd.pem
/etc/courier/imapd-sslには次の記述
TLS_CERTFILE=/etc/ssl/startssl/imapd.pem
リスタートして接続確認
# /etc/rc.d/courier_imap_ssl restart
# openssl s_client -connect localhost:imaps -CAfile /etc/ssl/startssl/startssl.sub.class1.server.ca.pem